How to remove image backgrounds without leaving WordPress
The slow part of removing backgrounds is not the editing, it is the download and re-upload round trip. Here is how to keep the job inside the Media Library, which output format to use, and where automatic cut outs still need a human.
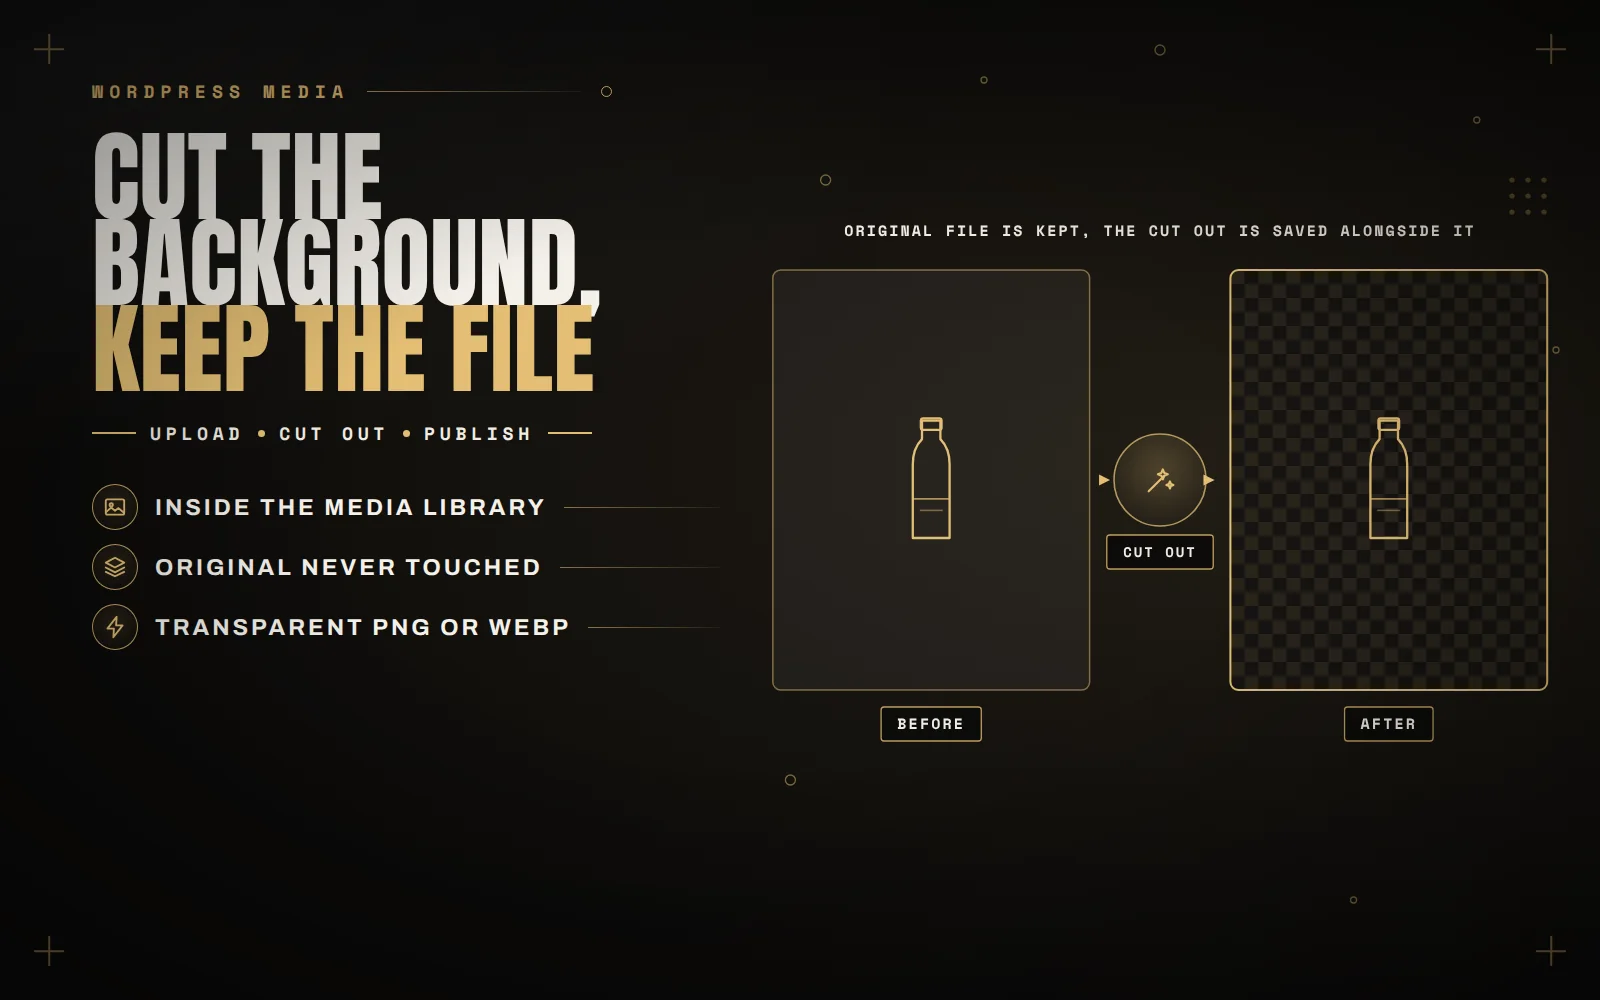
Removing a background from a product photo is a thirty second job. Doing it for eighty products is a week of your life, and most of that week is spent downloading files, uploading them somewhere else, downloading them again, and then trying to remember which version of hoodie-navy-2.jpg is the one with the transparent background.
The round trip is the problem, not the editing. Here is how to keep the whole job inside WordPress, what the trade offs are, and where automatic removal still needs a human.
The three ways people do this today
The browser round trip. Download from the Media Library, drop it into an online remover, download the result, upload it back, then fix the alt text and work out which posts used the old file. It works, and it is fine for one image. At scale it is where afternoons go to die.
Photoshop or Affinity. Better results on difficult subjects, because you can actually fix the edges. Slower, needs the software, and needs someone who knows how to use it. Worth it for a hero image. Not worth it for a catalogue.
A plugin inside WordPress. The file never leaves the Media Library. You open an image, click a button, and a transparent copy is saved alongside the original. This is the one that scales, and it is why I built Media Background Remover.
How it works in practice
Install the plugin, add an API key, then open any image in the Media Library. On the attachment edit screen there is a button to remove the background. A few seconds later you have a new attachment with a transparent background, in PNG or WebP.
The part that matters most is the part you do not see: the original is never touched. The processed image is saved as a new file. If the cut out is wrong, you delete it and nothing is lost. Any plugin that overwrites your original is a plugin you should not install, because background removal is not reversible once the pixels are gone.
The API key, and what it costs
The cut out itself is done by the remove.bg API, so you need a key from them. Their free tier covers the first 50 API calls each month, which is enough to try it properly and enough for a small site that adds a few products a week. Beyond that you buy credits, and the per image price drops as the volume goes up.
I am upfront about this because it is the most common reason people uninstall: they expect the plugin to be magic and free, and instead they hit a signup form. The plugin is free. The cut out is a paid service with a free allowance. Check their current pricing before you plan a catalogue sized job.
PNG or WebP for transparent images
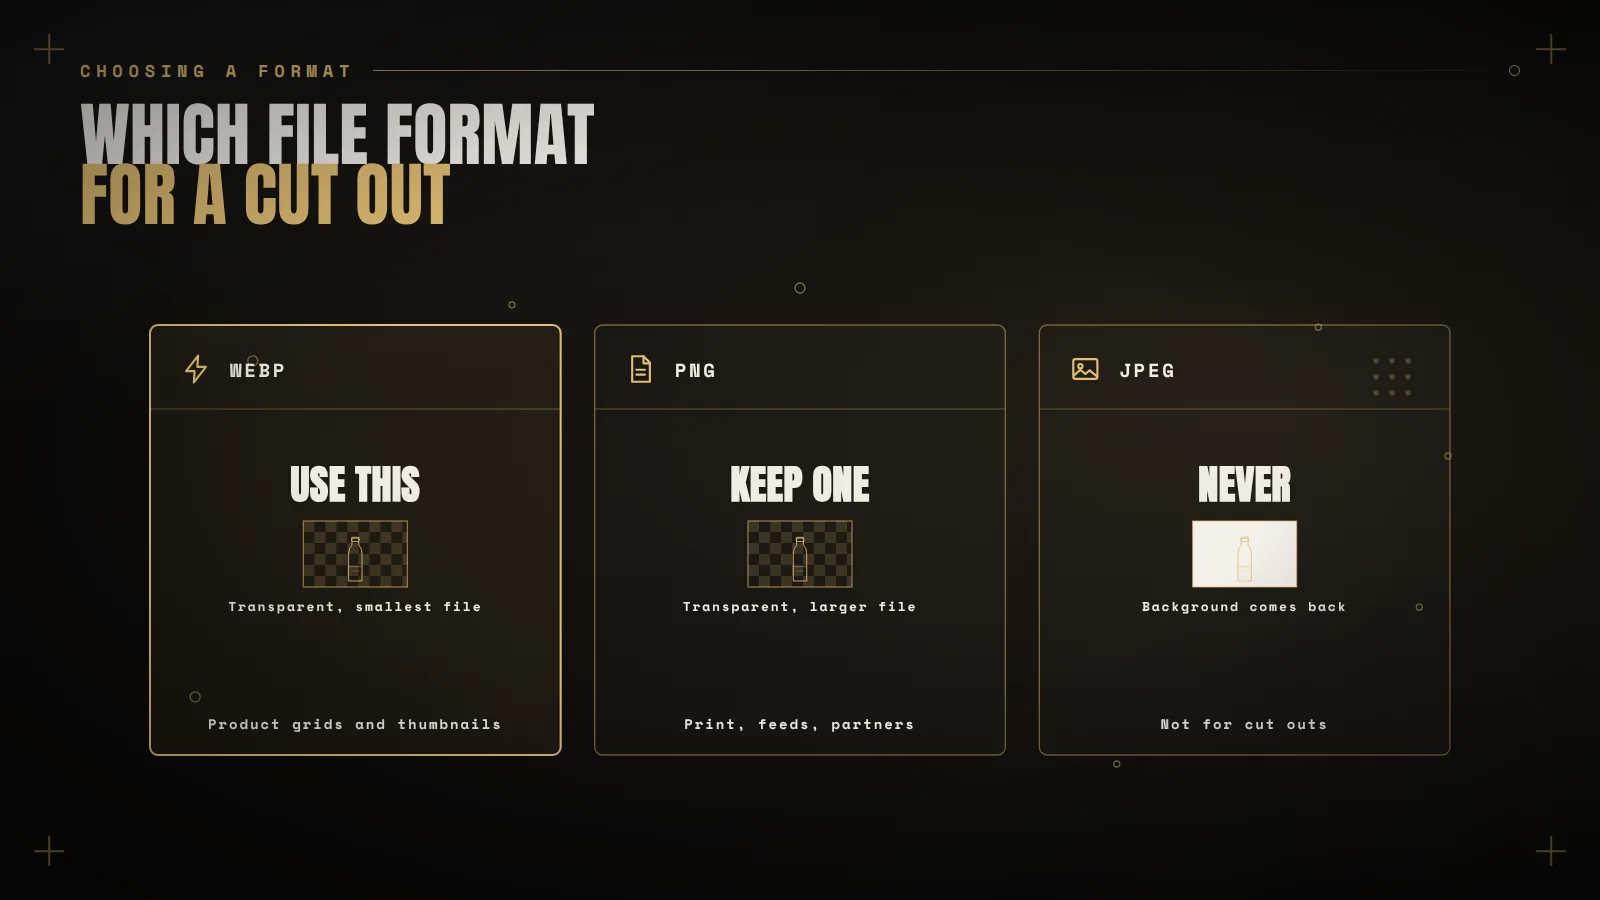
Both support transparency. WebP files are usually much smaller than the equivalent PNG, which matters on a product grid where thirty of them load at once. Every browser you care about has supported WebP for years.
- Use WebP for anything shown on the site: product images, grids, sliders, thumbnails.
- Keep a PNG when the file is going somewhere outside the site, like a print supplier, a marketplace feed or a partner who will ask you for a PNG anyway.
- Never use JPEG for a cut out. JPEG has no transparency, so the background comes back as white and you will not notice until it sits on a dark section.
Where automatic removal still struggles
Automatic cut outs are very good at a person or a solid object on a plain background. They get harder as the edge gets more complicated:
- Fine hair and fur against a busy background. You get a clean silhouette but lose the wisps.
- Glass, bottles and anything transparent. The algorithm has to guess what shows through, and it often guesses wrong.
- Low contrast. A white mug on a white table has no edge to find.
- Shadows. Decide in advance whether you want the shadow kept as part of the product. Half kept shadows look like a mistake.
The fix for all four is the same, and it is not software: shoot on a background that contrasts with the product, and light the product so the edge is clearly separated. Ten minutes of care when shooting saves hours of retouching later.

Doing a whole catalogue without losing your mind
A few rules that have saved me on real stores:
- Do ten first, not two hundred. Process a representative sample, put them on a real product page, and look at them on a phone. If the edges are wrong, you have found it after ten images instead of after the whole catalogue.
- Pick one output format and stick to it. Mixed PNG and WebP in the same grid makes file management confusing for whoever comes next.
- Consistency beats perfection. A catalogue where every product sits the same way on the same background looks professional even if one or two cut outs are imperfect. One beautifully retouched image among eighty inconsistent ones does not.
- Keep the originals. Back them up outside WordPress as well. You will want them the day you change your product photography style.
- Watch your Media Library size. Every processed image is a new attachment with its own generated sizes. On a big store that adds up, so check your disk usage before and after.
One last thing about transparent images
A transparent product image only looks good if the thing behind it is considered. Put a cut out on a plain white page and it looks like a cut out. Put it on a tinted panel, or let it overlap a section edge, and it looks designed. The transparency is the raw material. The layout is what makes it worth doing.
If you want to try it, the plugin is free on the WordPress plugin directory: Media Background Remover. If you have a catalogue of a few hundred products and you would rather someone else handled the whole job, that is the kind of work I do.
Keep reading
 WooCommerce
Why your WooCommerce checkout is slow, and the fixes that actually work
Checkout cannot be cached like a landing page, runs more JavaScript and waits on other people servers. Here are the six causes… Read article ↗ Working Together